Lego Hidden Side Case Study
Product Design
This video is my product design case study focusing on the Lego Hidden Side augmented reality (AR) app and playsets. I walk through my Don Norman-style Design Thinking process. In this case study, I highlight key issues with the original app, primarily that the user interface (UI) was overwhelming, and users weren't interacting with the physical Lego bricks during gameplay. I then present my ideas and prototypes for solutions aimed at simplifying the UI, making it more photorealistic, and, most importantly, encouraging more hands-on play through revised UI and gameplay mechanics. Through this project, I also had the opportunity to teach undergrad students essential product design skills, as demonstrated by the excellent examples from their AR experiences.
- Industry: Toys + Gaming - Client: Hypothetically Lego - Time frame: 2020-2025 - Services: User Research - Software: Adobe CC, Figma, and Blender
Research Inquiry: A critical analysis of a commercial, large-scale Augmented Reality (AR) product. This case study applies Don Norman's Design Thinking principles to evaluate the successes and failures of the Lego Hidden Side app's user experience, specifically its integration of physical play and digital interaction.
Outcome: A comprehensive UX/UI audit that serves as a pedagogical tool for teaching students how to deconstruct and analyze complex, real-world product design systems.
Introduction
As a kid who played with Lego sets in the '90s, I find this whole concept incredibly cool! In this case study, I'm diving into the Lego augmented reality (AR) app and playsets known as Lego Hidden Side.
Empathize Phase
Moving into the Empathize phase, my core principle is to deeply understand the user's problem before attempting to solve it. I set aside my assumptions and focus intently on the user, the product itself, and the stakeholders involved. Lego Hidden Side, as I explain, is an interactive experience that seamlessly blends the physical and digital worlds, inviting children to become ghost hunters. These 32 physical playsets offer familiar Lego functionality but truly come alive when viewed through the AR app. The primary goal of incorporating this digital play, as senior product lead Murray Andrews stated, was to enhance the existing physical play.
Test Phase
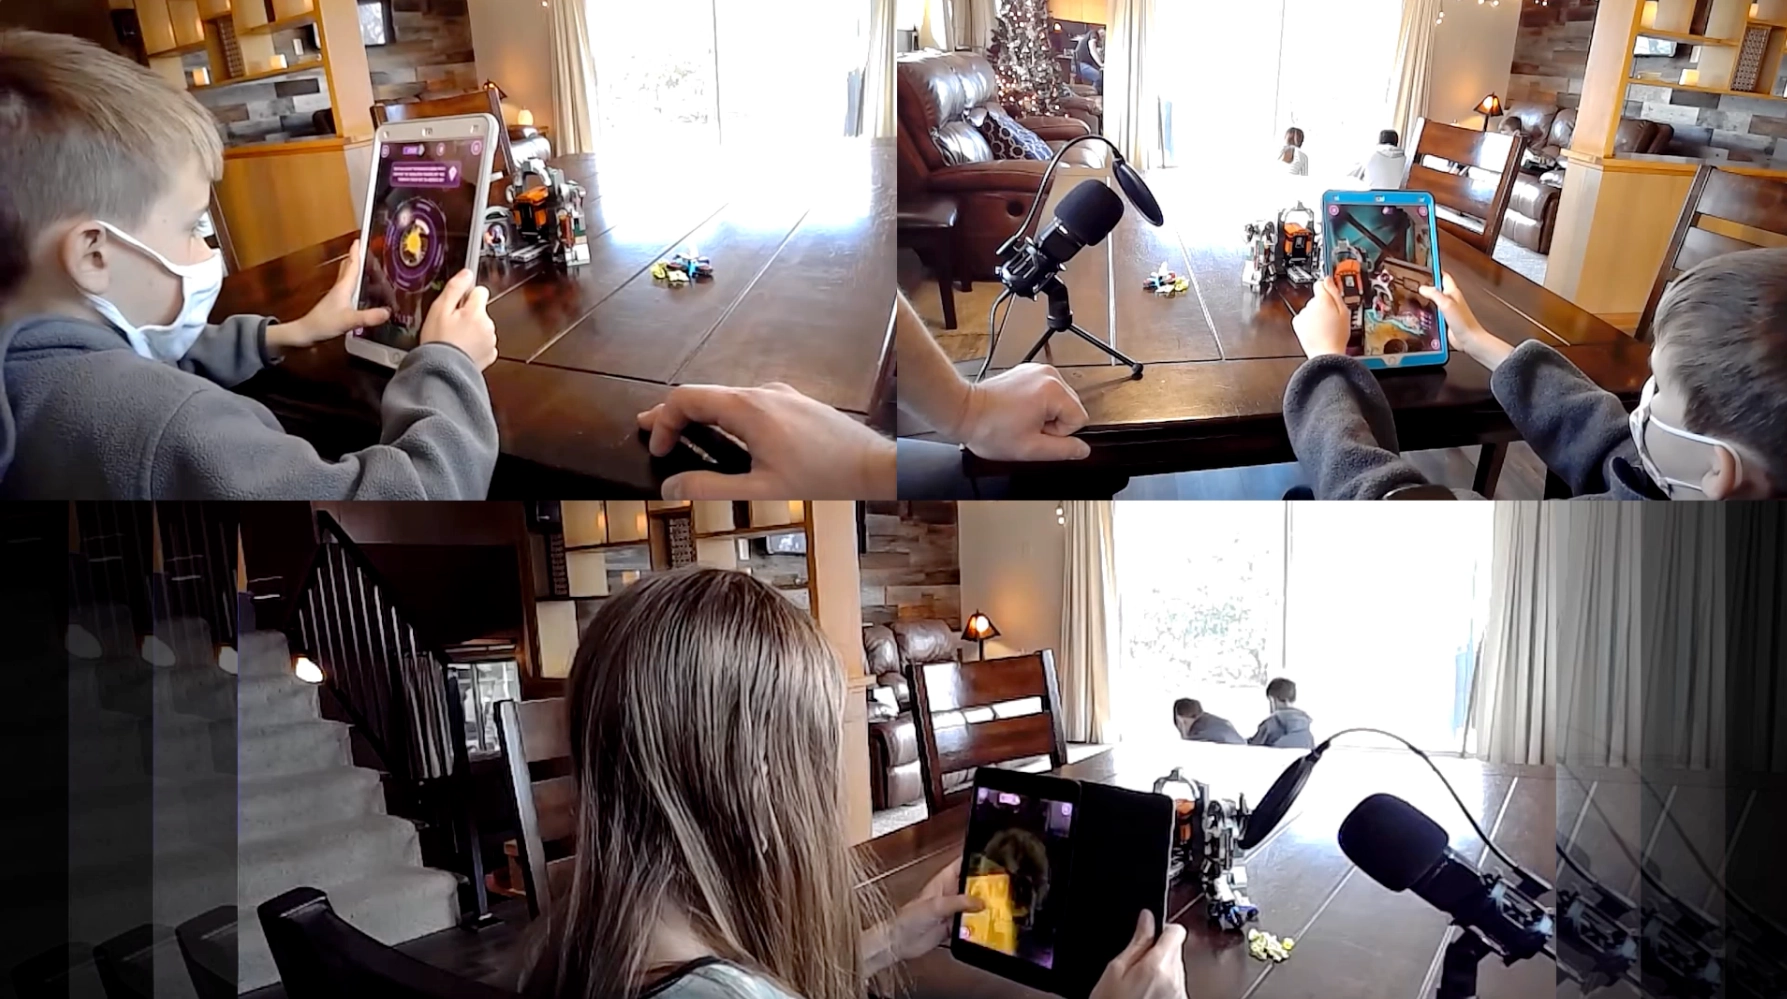
My testing revealed a significant problem: the app's user interface (UI) was overwhelming. Tech journalist Mark Wilson's observation underscored this, noting that the app seemed to contain "every trope of mindless, addictive game design, yet very little of the creative play that makes Lego so fun." Specific issues I identified included users struggling to understand buttons for playset selection, getting confused by instructions (for example, prominent scanner limitations overshadowing critical physical actions like turning a hinge), and a general lack of clarity due to less realistic UI images. Most critically, my testing showed that the physical bricks were hardly touched during gameplay, with testers primarily holding their iPads.
Define Phase
I then transition into the Define phase, knowing that before I can clearly define a problem, testing with real users is crucial. This testing, an integral part of my process, can reveal new insights that refine prototypes or even redefine the core problem. I used three key research methods: fly-on-the-wall observation, think-aloud protocol, and interviews. I specifically chose test subjects who were Lego experts from the Lego League Challenge.
Ideate Phase
Next, in my favorite phase, Ideate, I shifted my focus to finding creative solutions to the problems I had defined. My ideas are structured around three prompts. First, "How might an overwhelming UI become more simple, measurable, and clear?" My solutions included centralizing buttons and stats, using 3D ghost graphics, standardizing graphics with a purple line art style, making stats 3D and buttons 2D, clarifying the connection between numerical reduction and battery percentage, creating a Mortal Kombat-style progress bar, dedicating a screen area for messages, simplifying the reward screen, and enlarging images for better readability. Second, "How might a UI become more photorealistic?" My proposed solutions involved replacing the map page with images of playsets and using images for gameplay option buttons to highlight differences. Finally, and crucially, "How might UI and gameplay edits put more hands-on bricks?" My ideas included replacing tappable graphics with "thumbprint anchors," anchoring the UI to the bottom for better one-handed play and rewriting gameplay to require physical brick adjustments for advancement—a challenge I specifically posed to my students. This section is further enriched by showcasing student projects like Lego Skelsia, Lego Hydronauts, and Arctic Madness, which successfully demonstrated integrating physical brick interaction into AR gameplay.
Prototype Phase
My journey culminated in the Prototype phase, where I formalized my refined ideas. This involved transitioning from low-fidelity prototypes, like pencil sketches, to high-fidelity versions, such as detailed Figma files. Since official Lego Hidden Side artwork wasn't available, I innovated by downloading 3D Lego models from Meccabrick and BrickLink, importing them into programs like Blender for rendering, and then mocking up the app in Figma.